
In celebration of watering bells…
After crunching my 2025 sales numbers the winner for most purchased type of pot is the…watering bell! So I’m writing a post today celebrating this sweet little unique form. Read on to learn a bit about what they’re used for and how to make them.
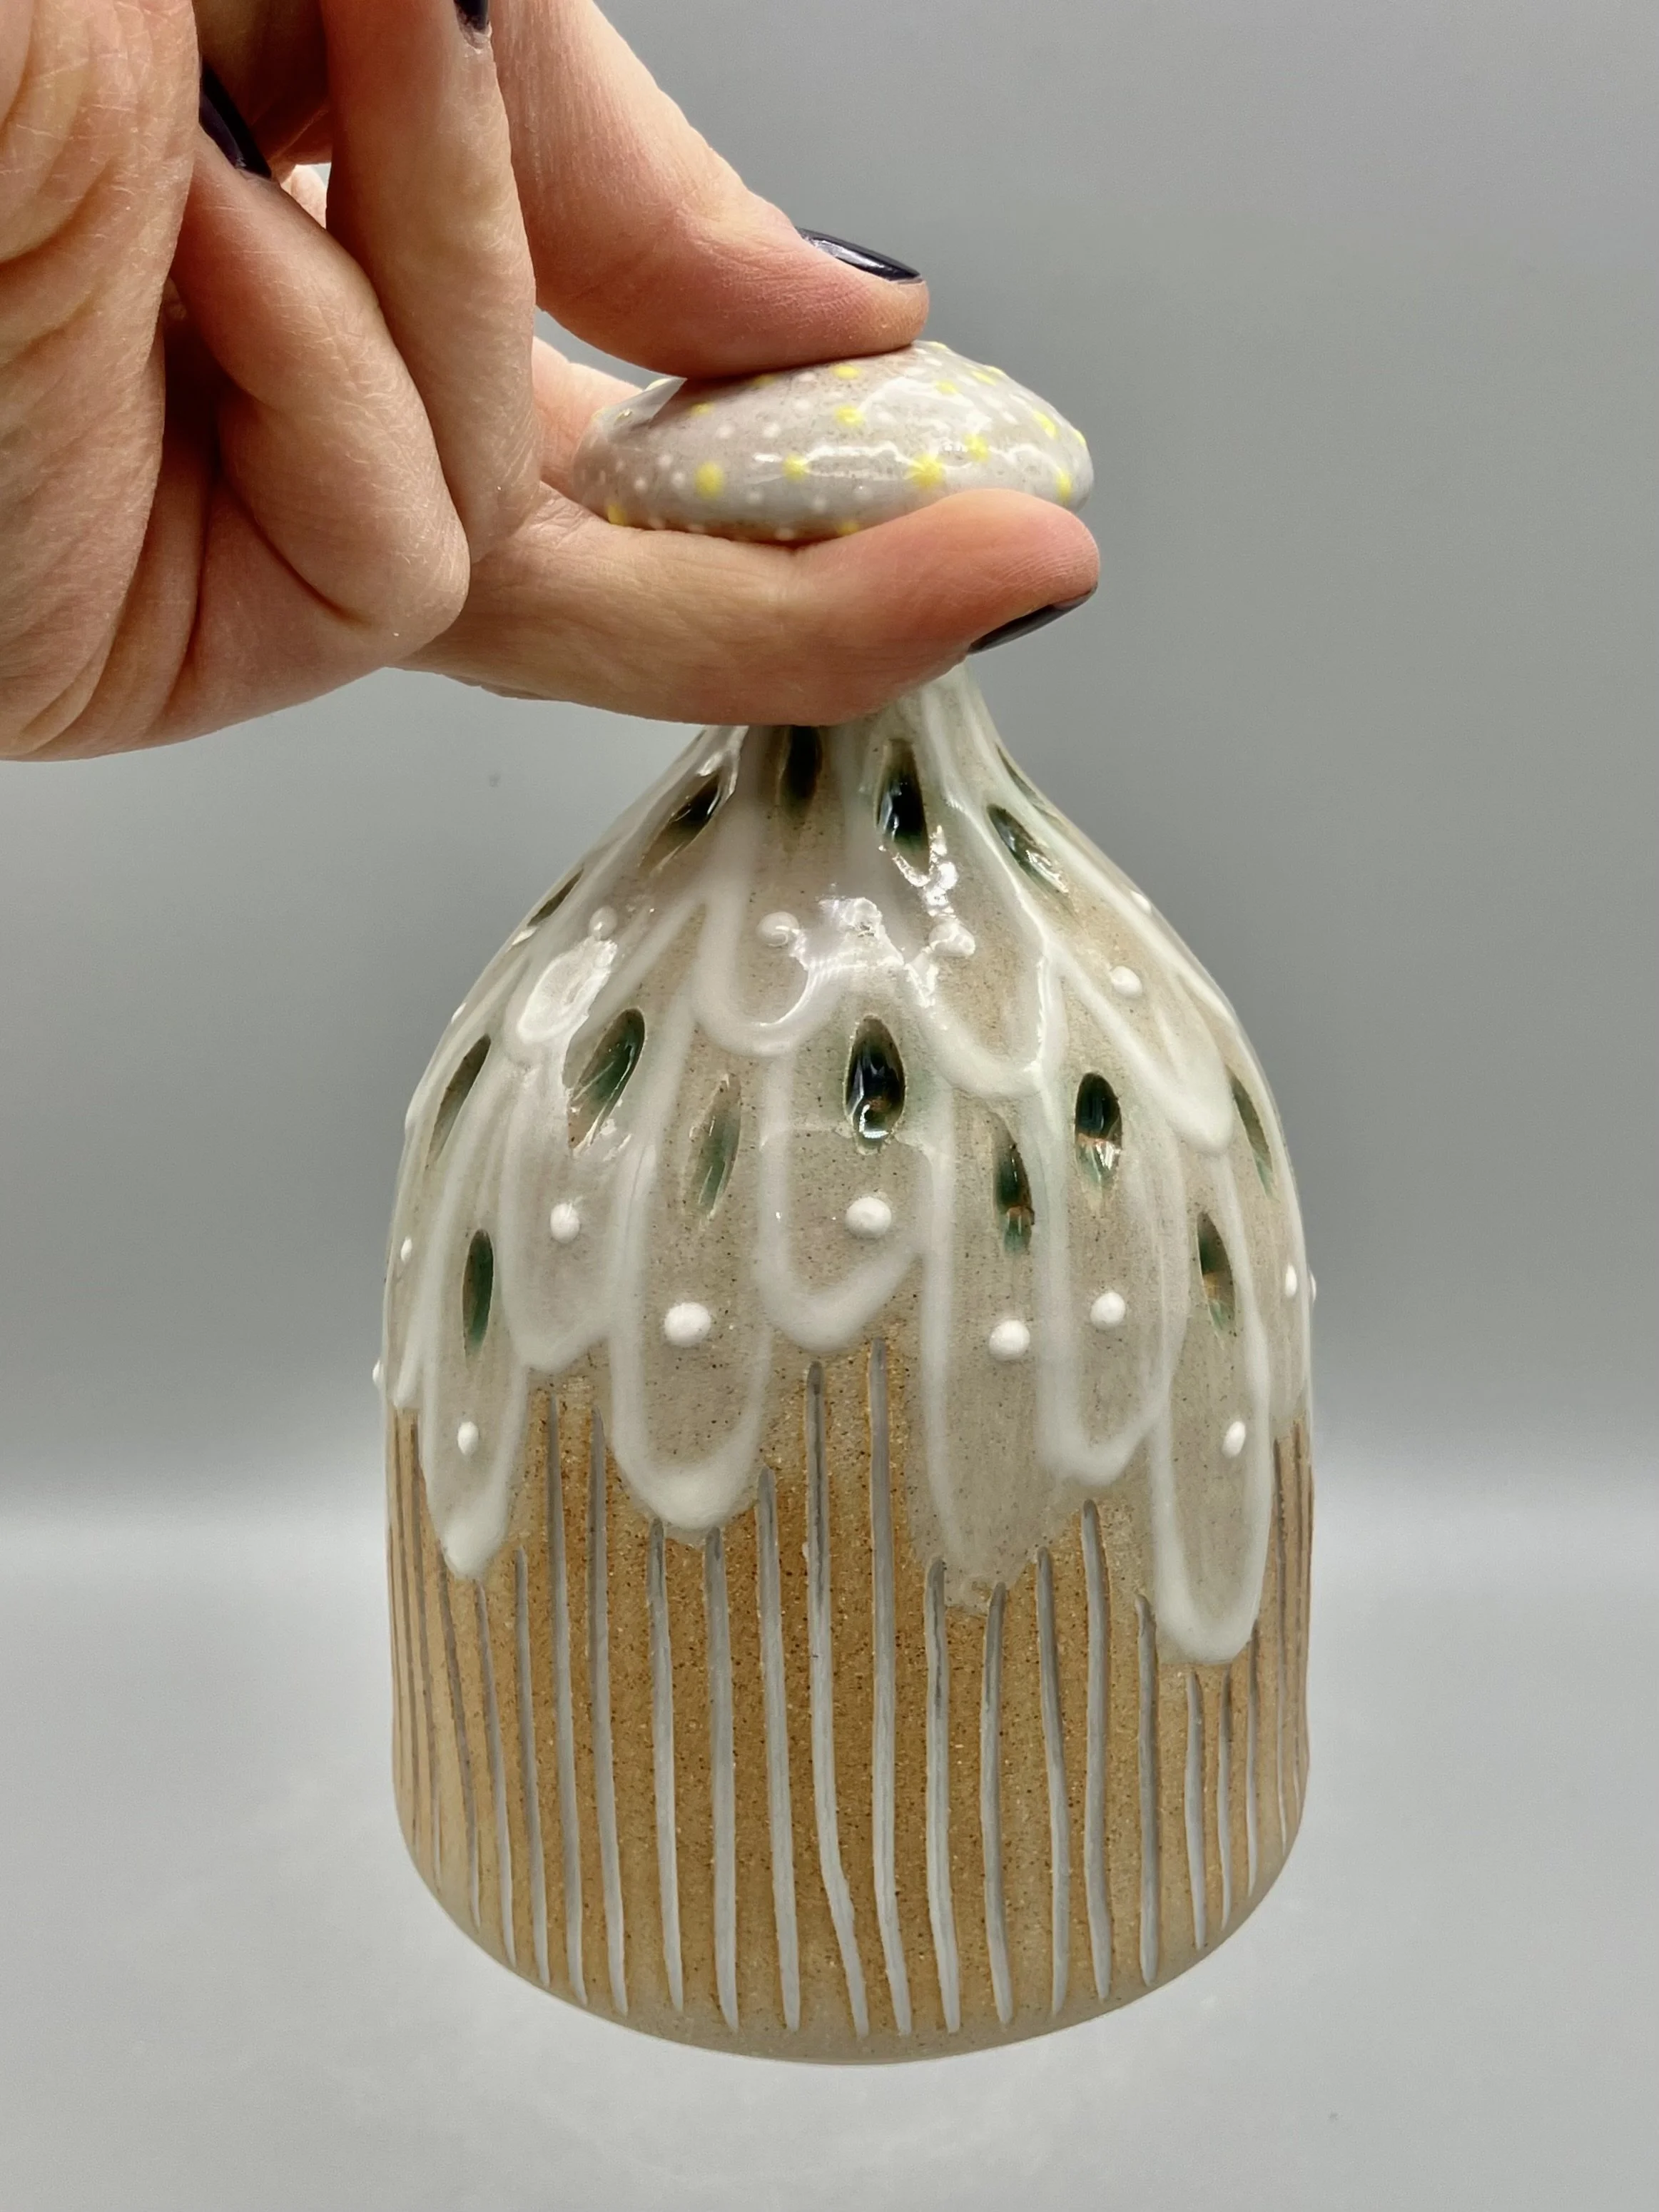
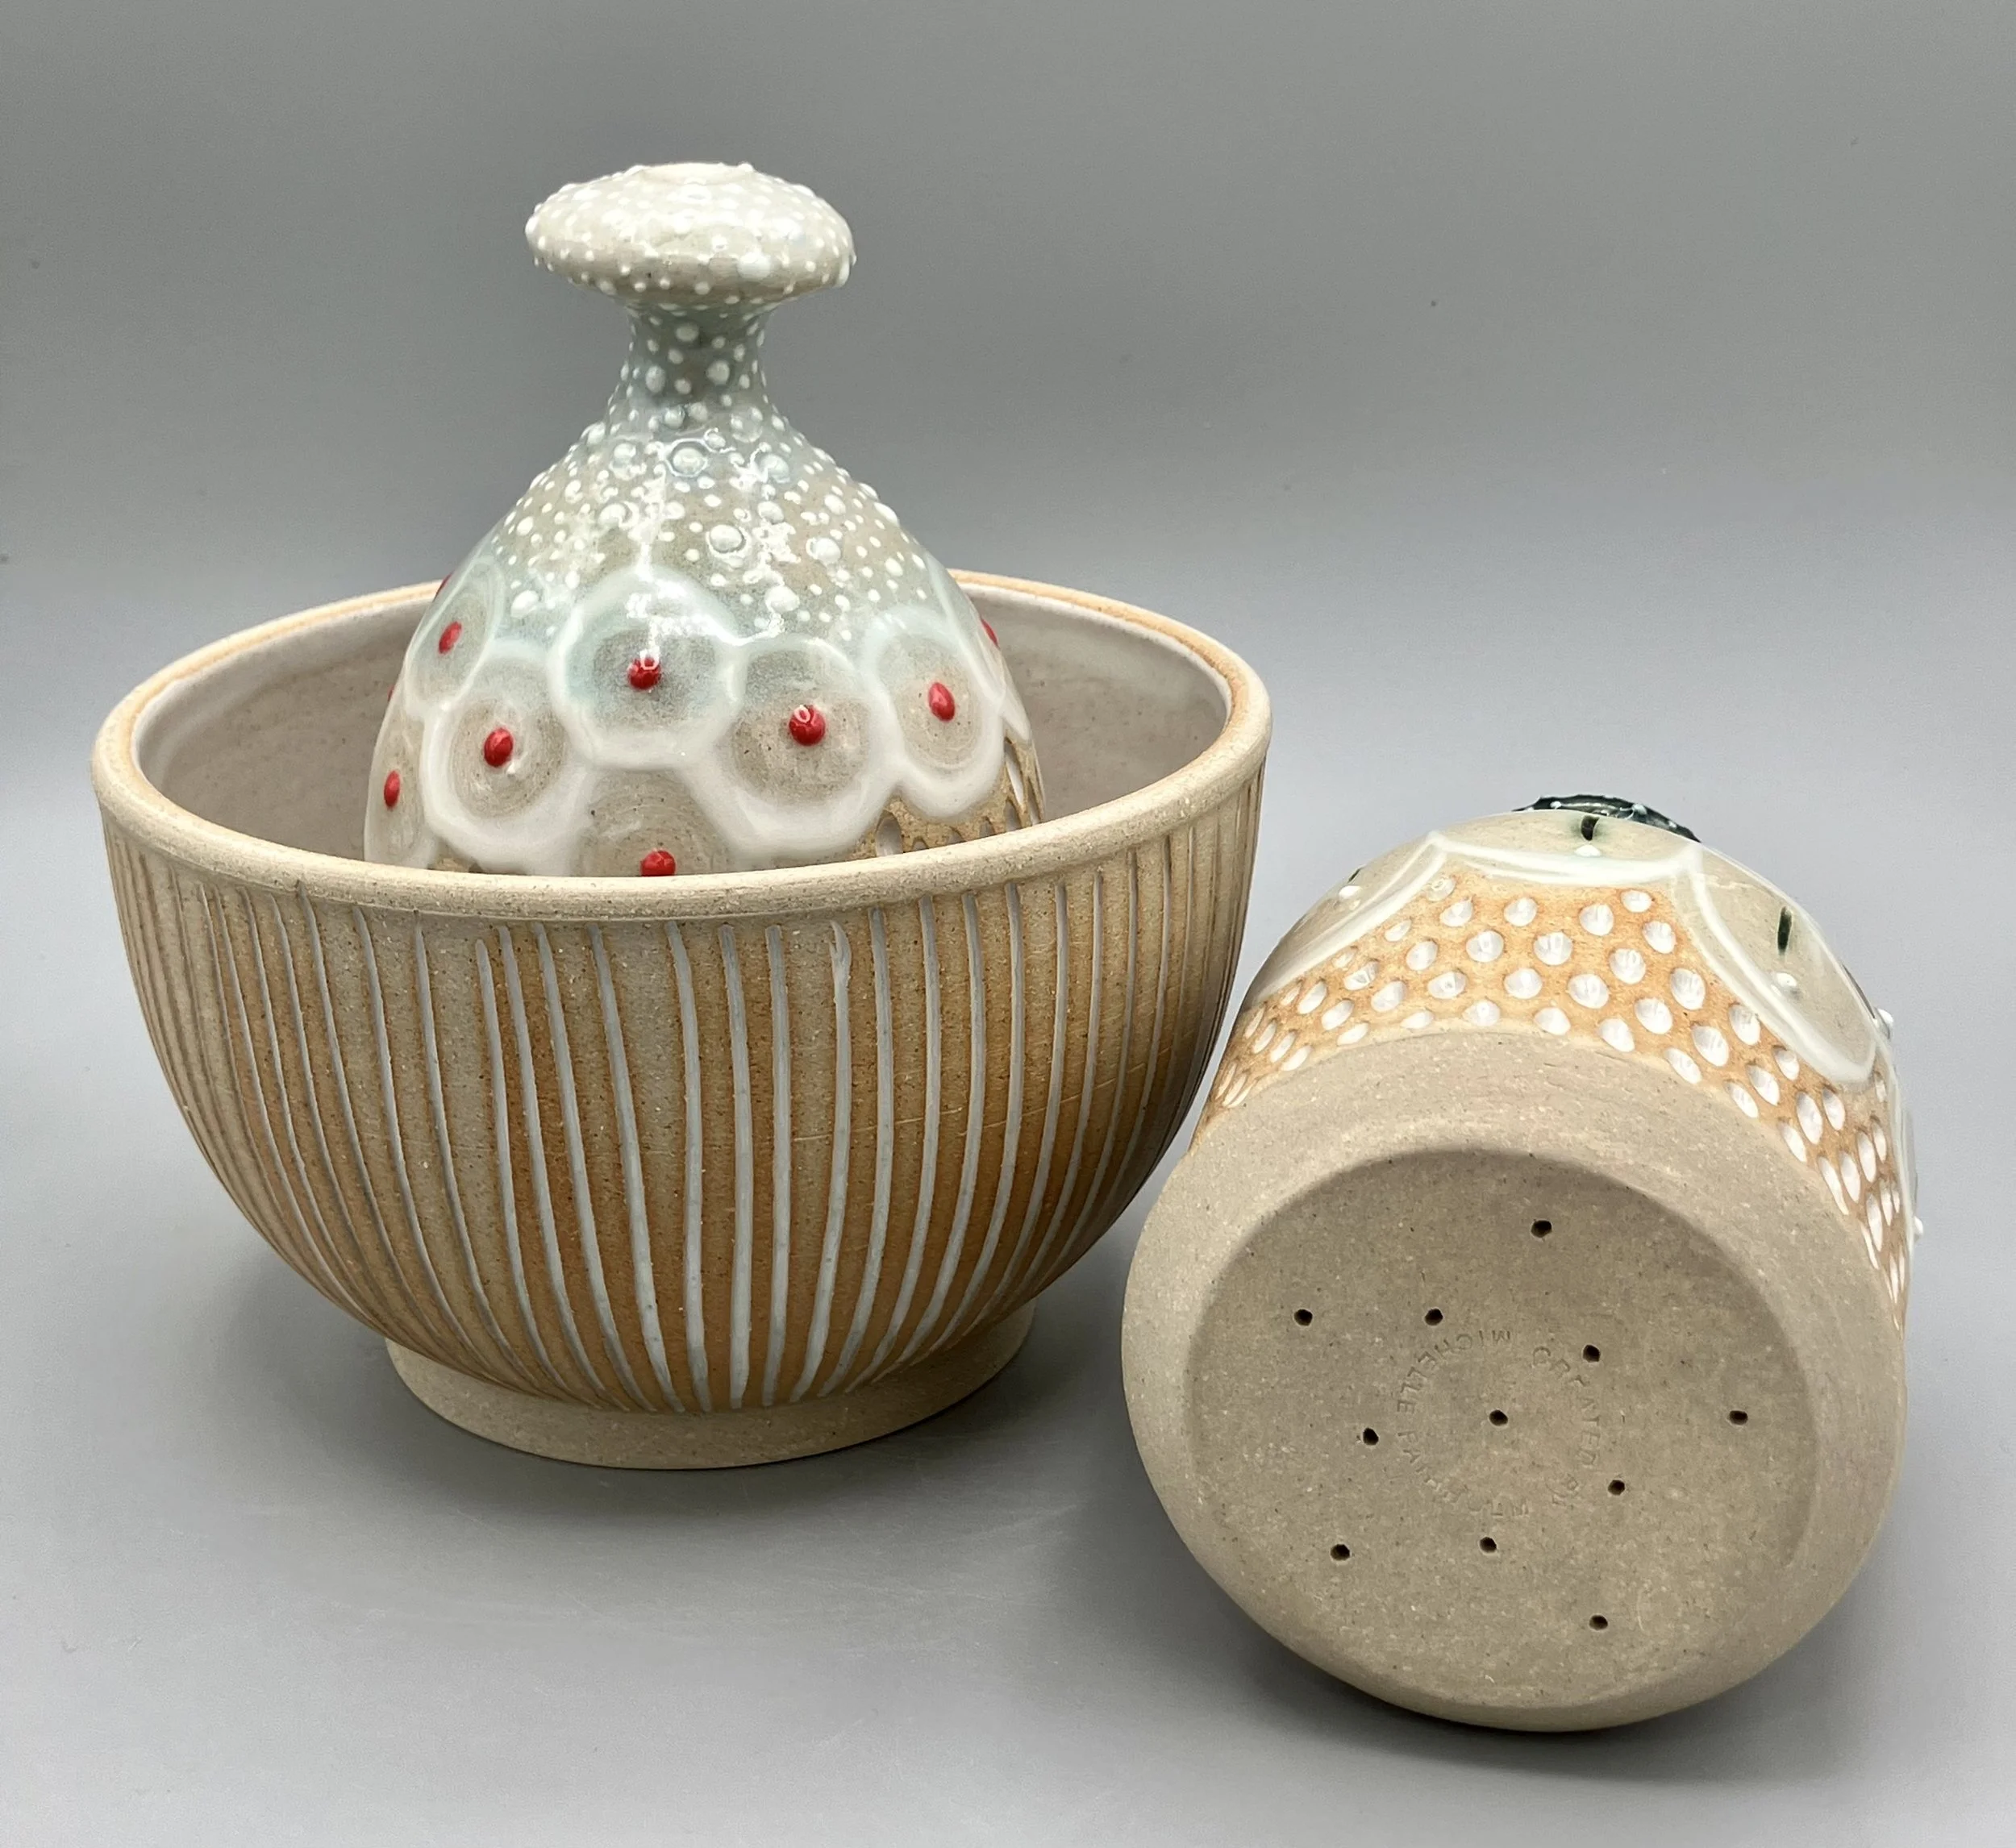
If you’ve had the pleasure of being a vendor in the tent next to mine at an art market in the last few years, you’ve heard me answer the question “what on earth is a watering bell?” dozens and dozens of times. Watering bells are an alternative to a watering can that you submerge in a bowl of water to fill up. They have a pattern of smaller holes on the bottom to create a gentle water shower and a hole in the top that you cover and uncover with your thumb to control the water flow (yay physics!).
This form has been around for hundreds of years and honestly is one of those things that just causes me to marvel at our ancestors’ ingenuity. Watering bells were originally used centuries ago to water straw floors to keep dust down and to water plants. Today I’d say half the people who buy these from me get them to water plants, and the other half get them just because they’re incredibly satisfying to play with.Watering bells are better known now thanks to a resurgence on Instagram and Tik Tok, but I first stumbled upon this form when reading some old blog posts like this one.
When I initially made one after looking at only those blog photos I had no idea if it would work (and I couldn’t test it until after it was fired). The very first time I pulled one out of the kiln and got to play with starting and stopping the water flow it felt like magic, and honestly I’m still tickled pink every time I make and test out a new batch.
The Making Process
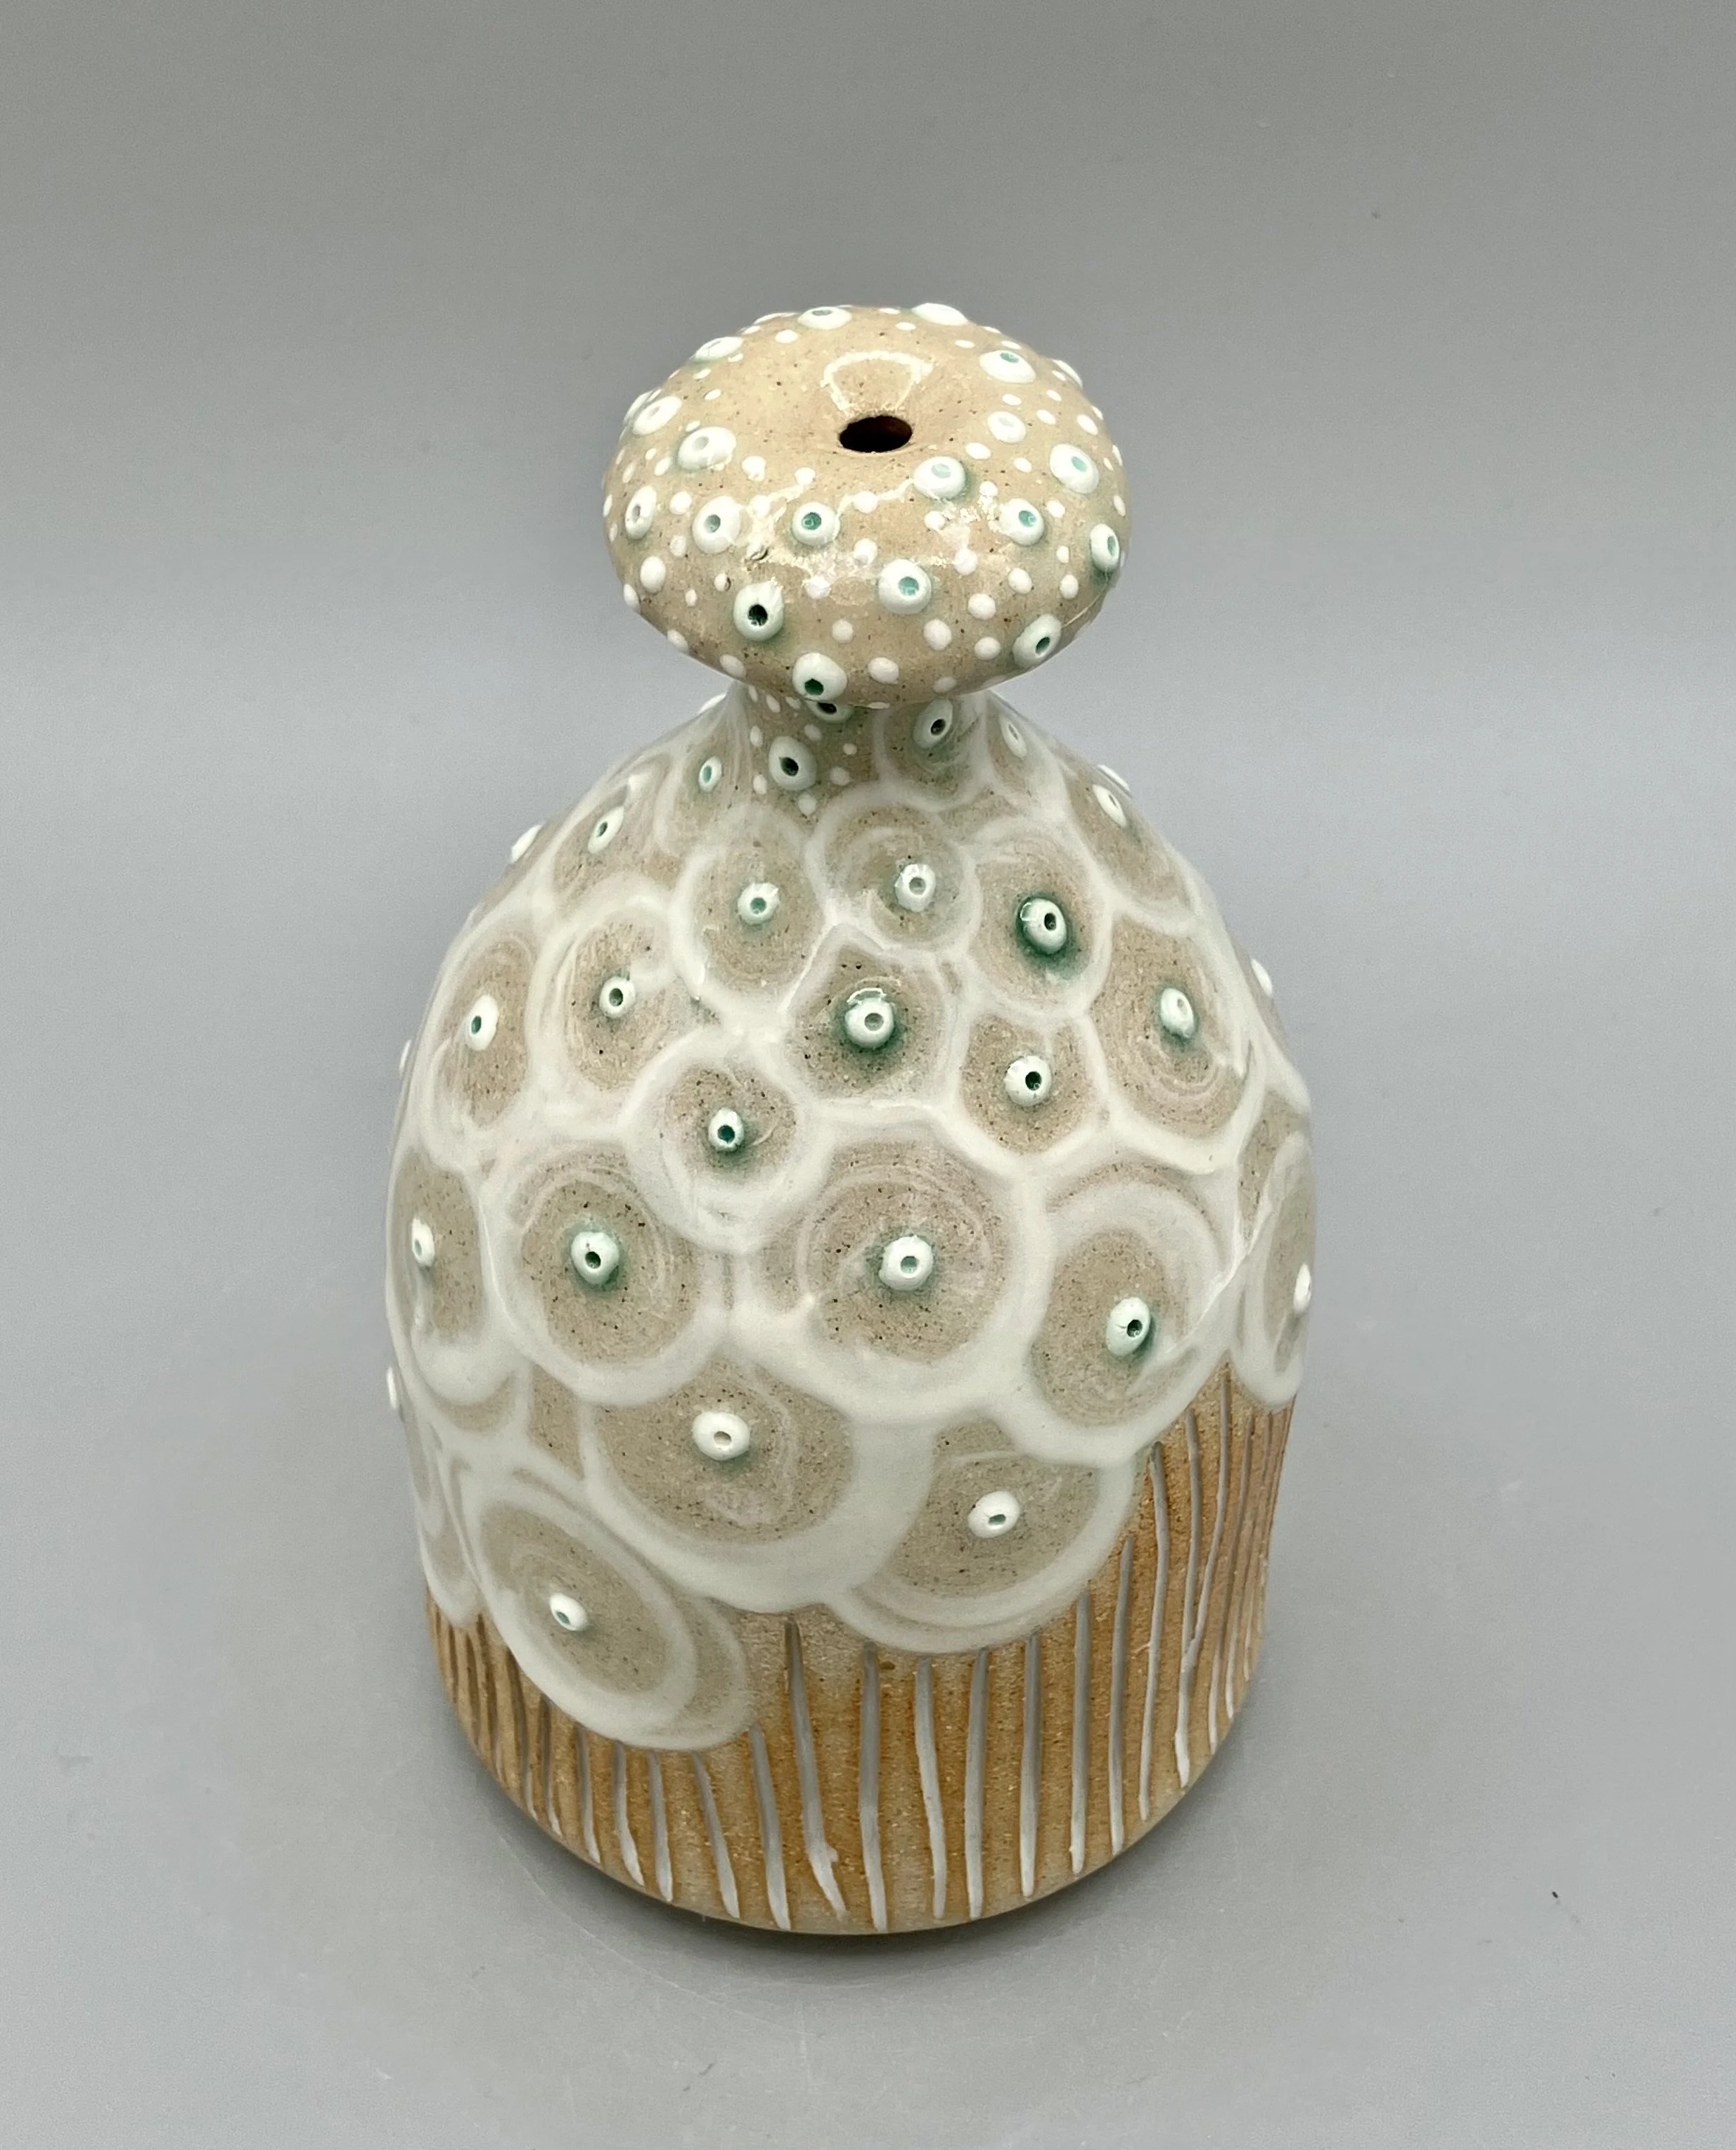
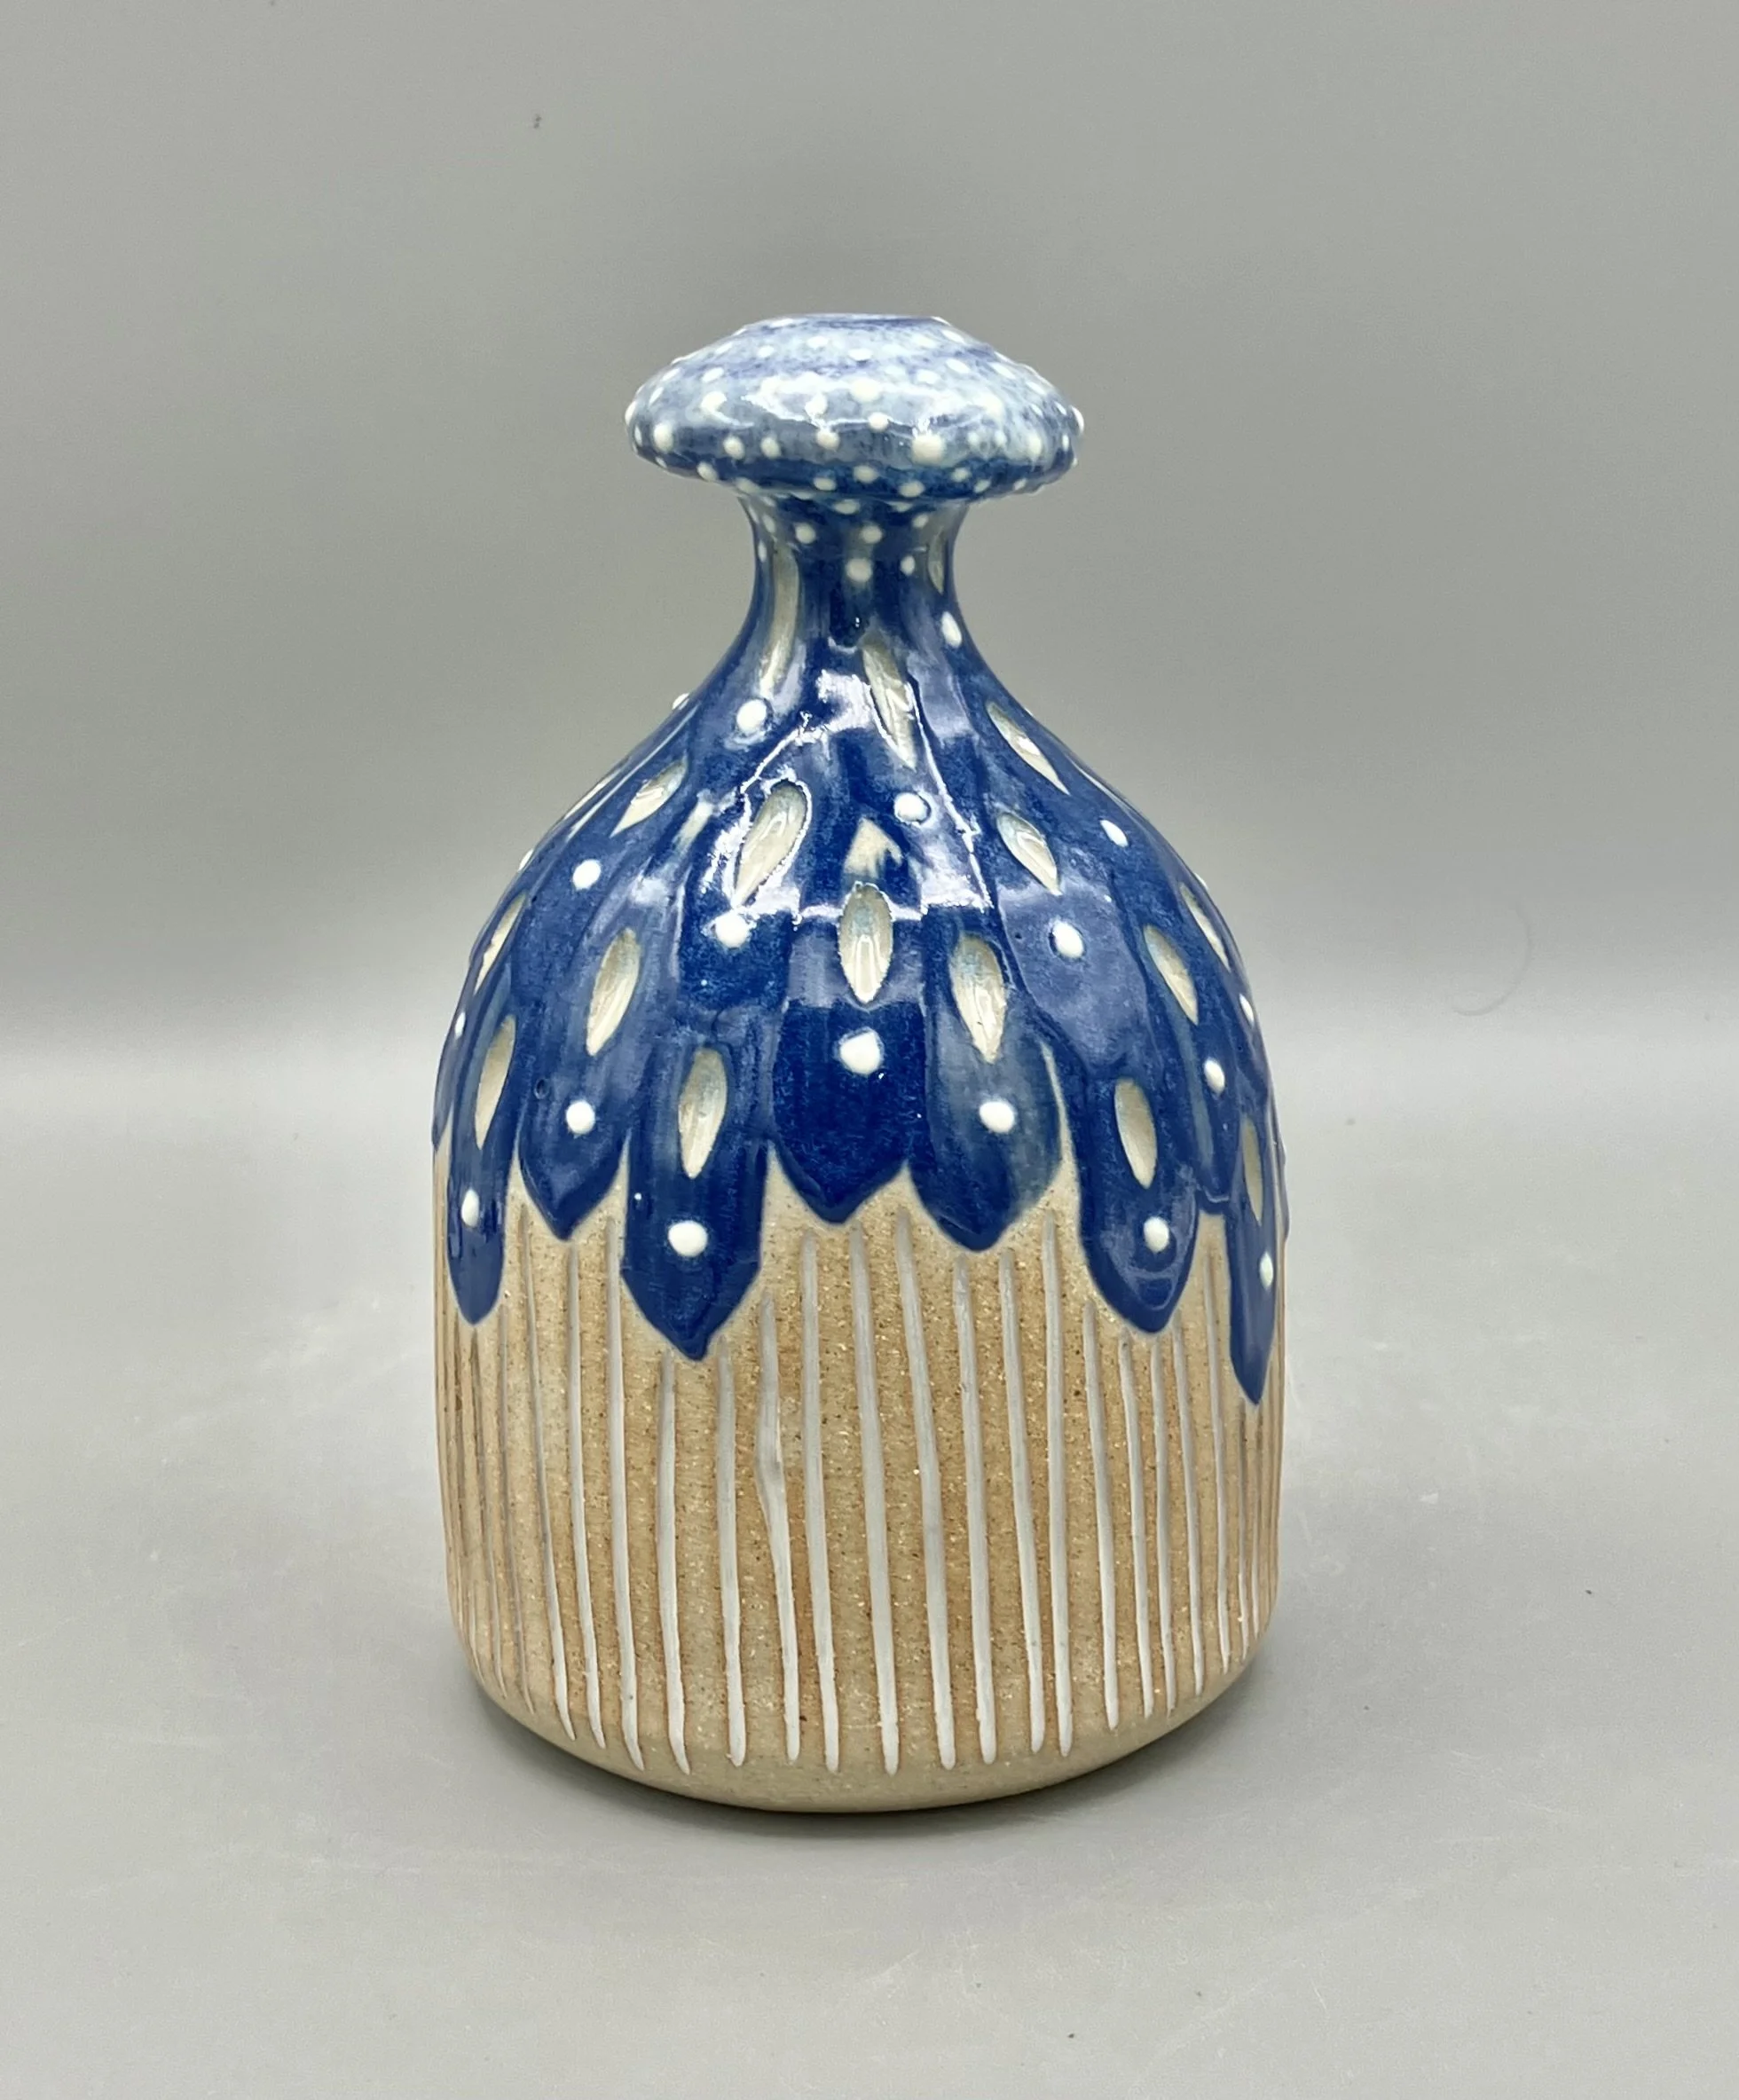
I’ve been making these watering bells for several years now and have tweaked the design quite a bit until landing on a form that feels really comfortable to use. I like the top to have a clearly defined wide, flat shelf above a very skinny neck in order to comfortably grip, and a convex top with a smallish thumb hole so all shapes and sizes of thumbs can fully cover it and get a good seal (which is necessary to create the vacuum that holds the water inside). Here’s my process:
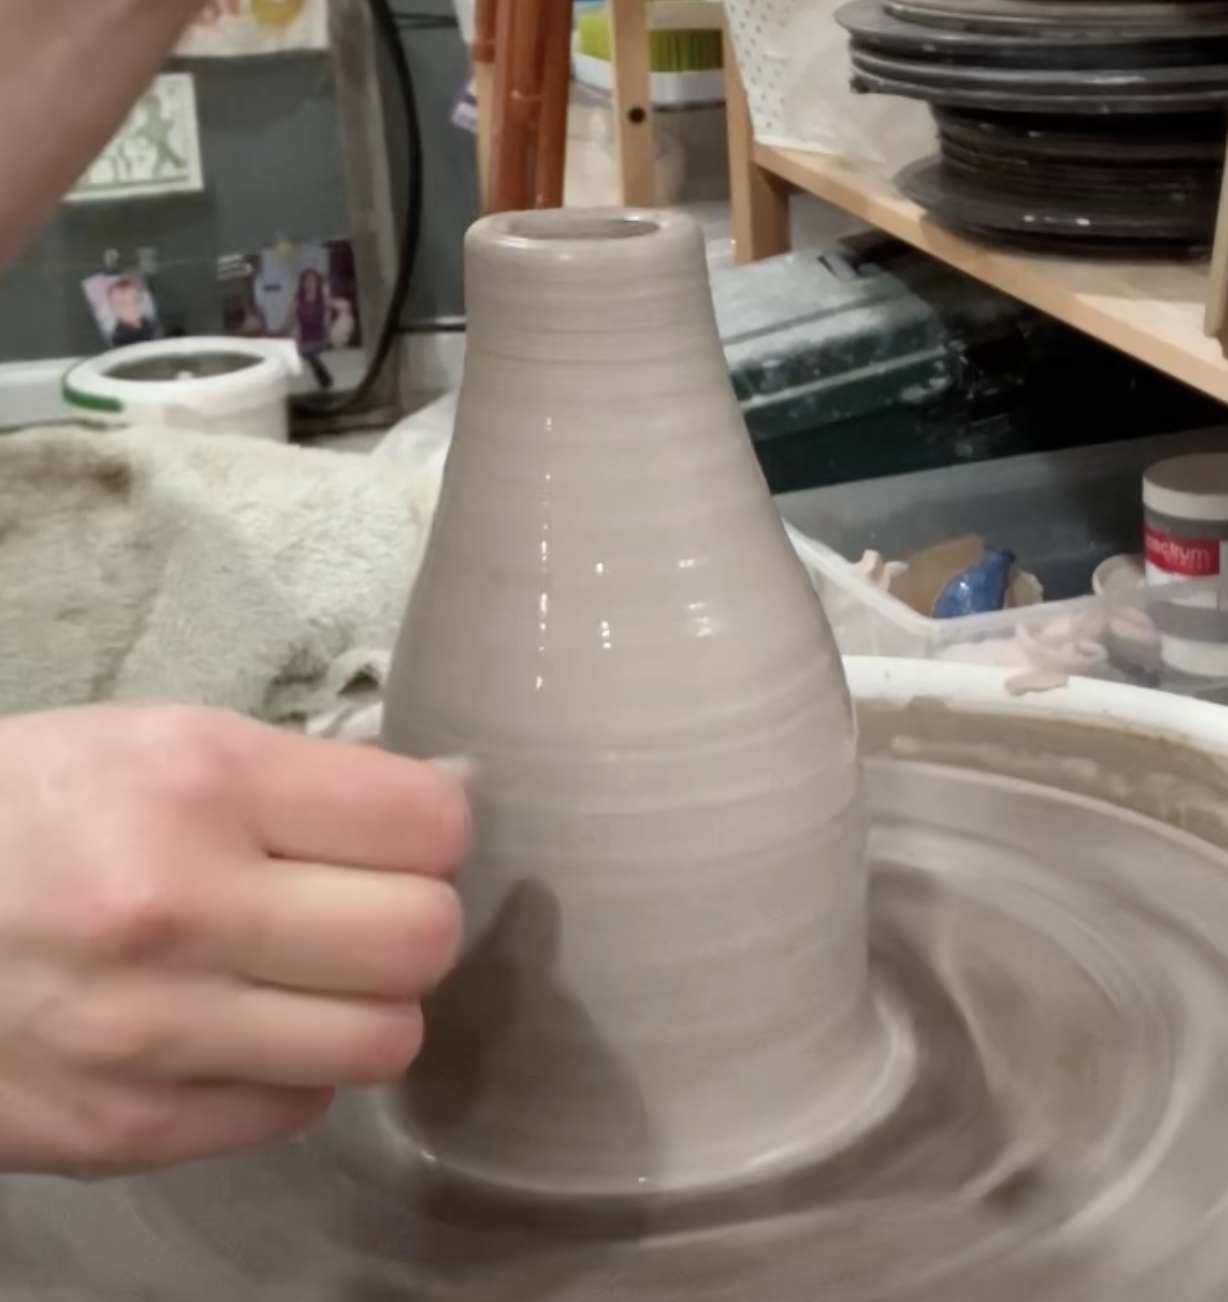
Step 1: Throw a basic vase/bottle shape but don’t make that neck too skinny yet.
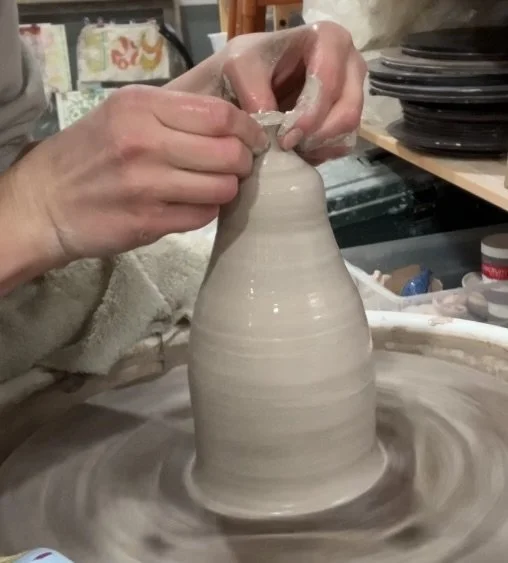
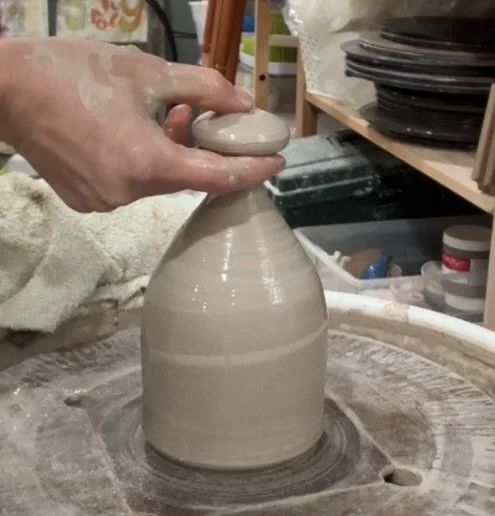
Step 2. Close the top of the form completely. This traps air inside so you can smooth and refine the bottom half of the form. The air that’s trapped inside will give you enough counter pressure that you can compress and smooth from the outside without collapsing your pot. (Note how the form looks smoother and the bottom is trimmed in step 3.)
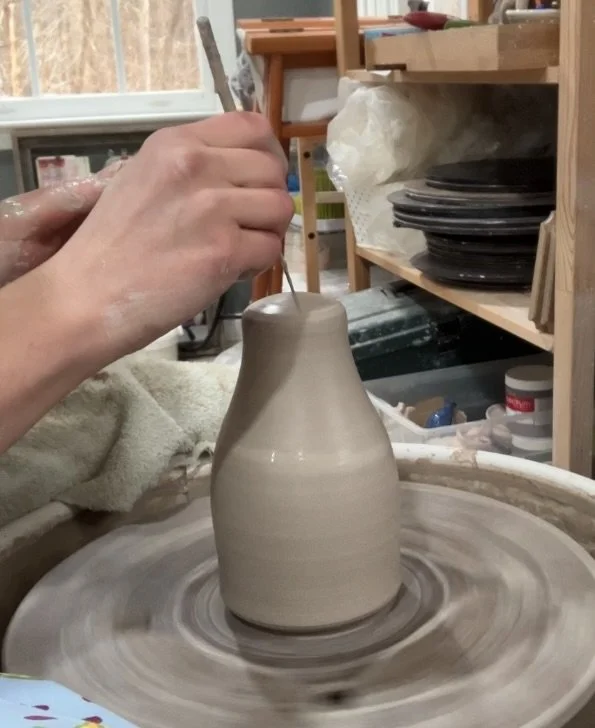
Step 3: Use a needle tool to cut an oh-so-perfect hole. You need this hole now so you can collar in the neck in the next step. (In step 2, we needed the air to be trapped, but now we need the air to be able to escape. If you skip to step 4 before cutting the thumb hole, when you collar in it’ll squeeze the air trapped inside and cause your pot to bulge out in another area).
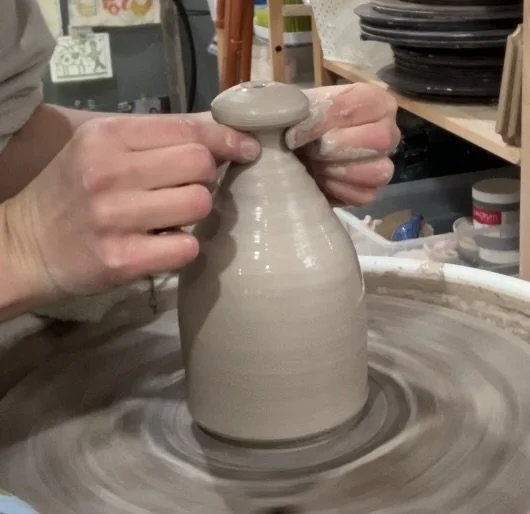
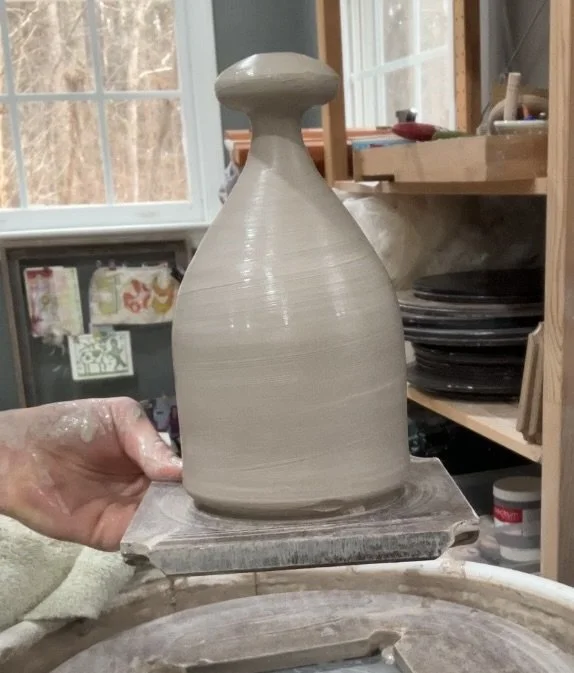
Step 4: Collar in that neck and flatten the little shelf on the top part. This step is fiddly (the whole process is actually, but this part especially)! I like the top to have a flat shelf on the bottom so the bell is well supported by your fingers even when heavy with water. The bigger the difference in size between the skinny neck and thumb hold at the top, the easier it is to hold, but the more delicate the neck will be before it’s fired. It’s a tricky balance to find.
Step 5: Ta da!
I love making these for so many reasons, but one is that it’s a great piece to play with texture. Hands will be interacting with this just as much as eyes. I tend to cover the top thumb hold with slip dots not only because they feel so satisfying after fired, but also because they aid in the grip. Nothing like hundreds of tiny bumps to keep you from dropping a slippery watering bell. :)